
Sublimation printers are excellent for custom products, home businesses and small production shops, but they need regular maintenance to keep ink flowing, nozzles clear and colours consistent.
This guide covers weekly printing, nozzle checks, head cleaning, incorrect colours, pizza wheel marks, borderless printing issues, power cleaning and manual cleaning warnings.
Print weekly, run nozzle checks before production, clean only when needed, and avoid borderless printing problems.
Sublimation ink behaves differently to standard office printer ink. If a sublimation printer sits unused, moisture can evaporate from the ink around the print head and leave dye residue behind. Over time this can harden and block nozzles.
A simple weekly print that uses cyan, magenta, yellow and black helps keep ink moving through the head. If you have printed in the last 24 hours, you can usually skip the reminder and wait until the next week.
This is especially important for converted EcoTank printers and any sublimation printer that is used only occasionally.
 Example weekly CMYK print to keep sublimation ink moving.
Print something that uses cyan, magenta, yellow and black rather than only one colour channel.
A weekly phone reminder is a simple way to prevent long idle periods.
If a printer is used for business, record maintenance, nozzle checks and recurring problems.
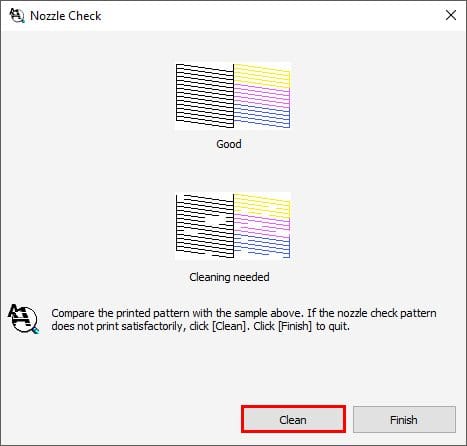 A nozzle check helps confirm all channels are printing before production.
In print shops it is normal to run a nozzle check before the first production print of the day. A nozzle check shows whether the print head channels are clear and whether any colour channel has missing segments.
If the nozzle check is clean, you can proceed with more confidence. If there are significant breaks, there is little point printing customer artwork because you may get banding, incorrect colour or missing detail.
Epson support pages and user guides commonly direct users to print a nozzle check pattern and inspect it before cleaning. Use your exact printer model’s Epson support page where possible.
Nozzle check patterns look different depending on the printer and number of colour channels. The main thing you are looking for is missing lines, broken segments or large gaps. A tiny missing piece may sometimes clear with normal use, but repeated or significant gaps should be fixed before production printing.
A head clean pushes ink through the nozzles to help dislodge partial blockages. Many printers also use a wiper or capping system to help clean the surface of the print head.
Head cleans use ink and fill the maintenance tank or waste ink pads. There is no benefit in repeatedly cleaning a printer that already has a clean nozzle check.
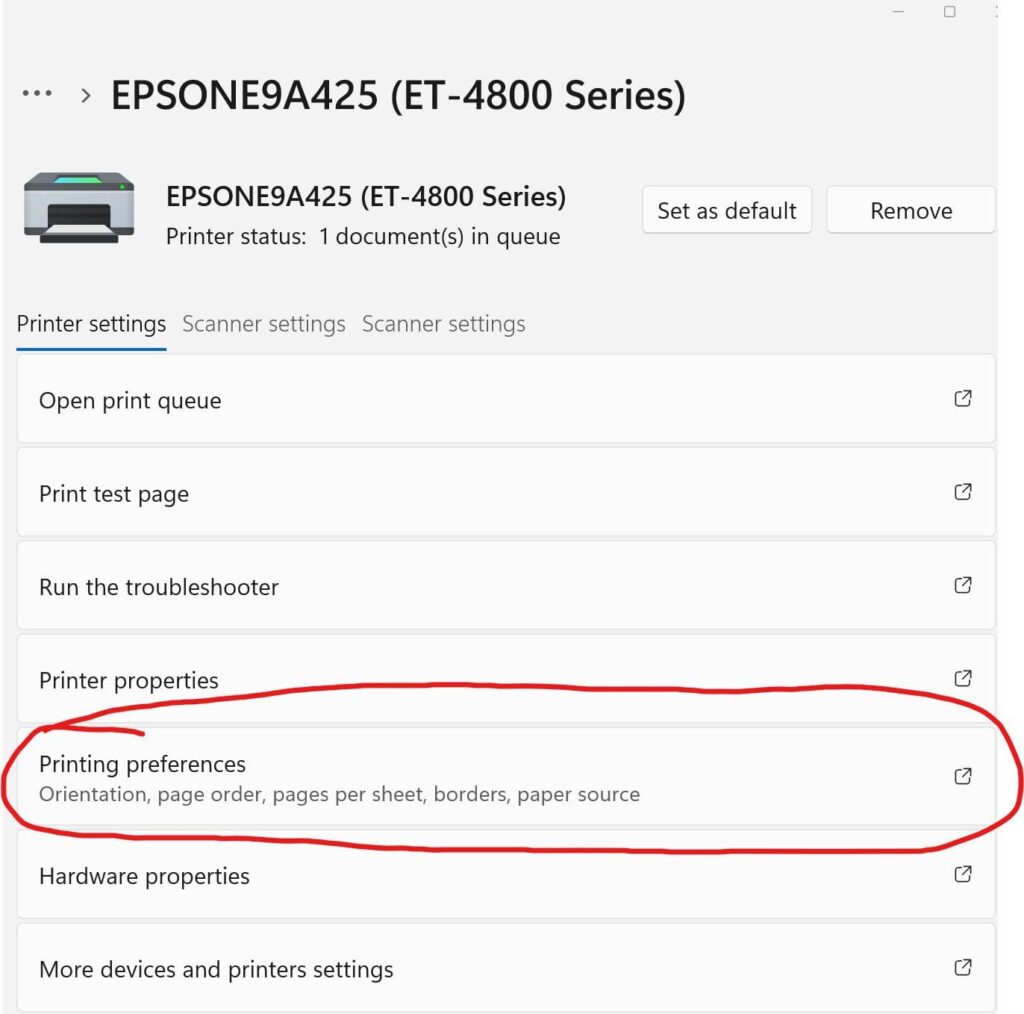 Open your printer preferences or utility settings.
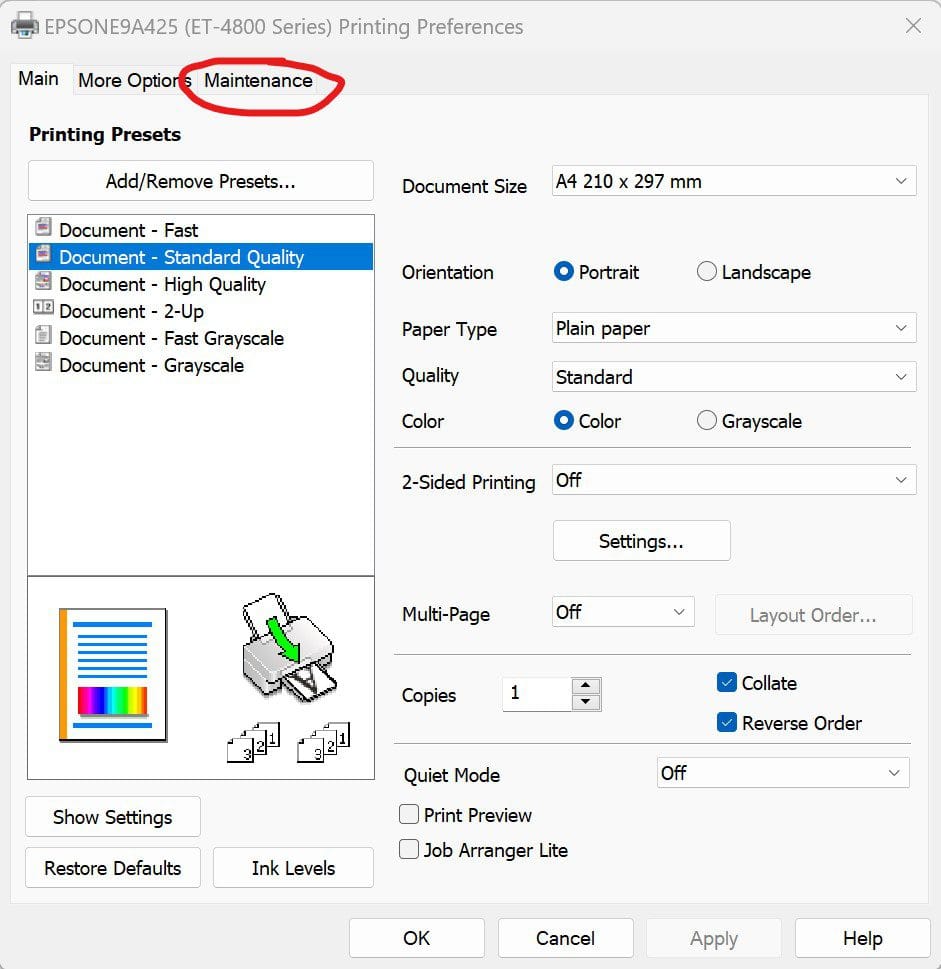 Use the maintenance tab for nozzle checks and head cleaning.
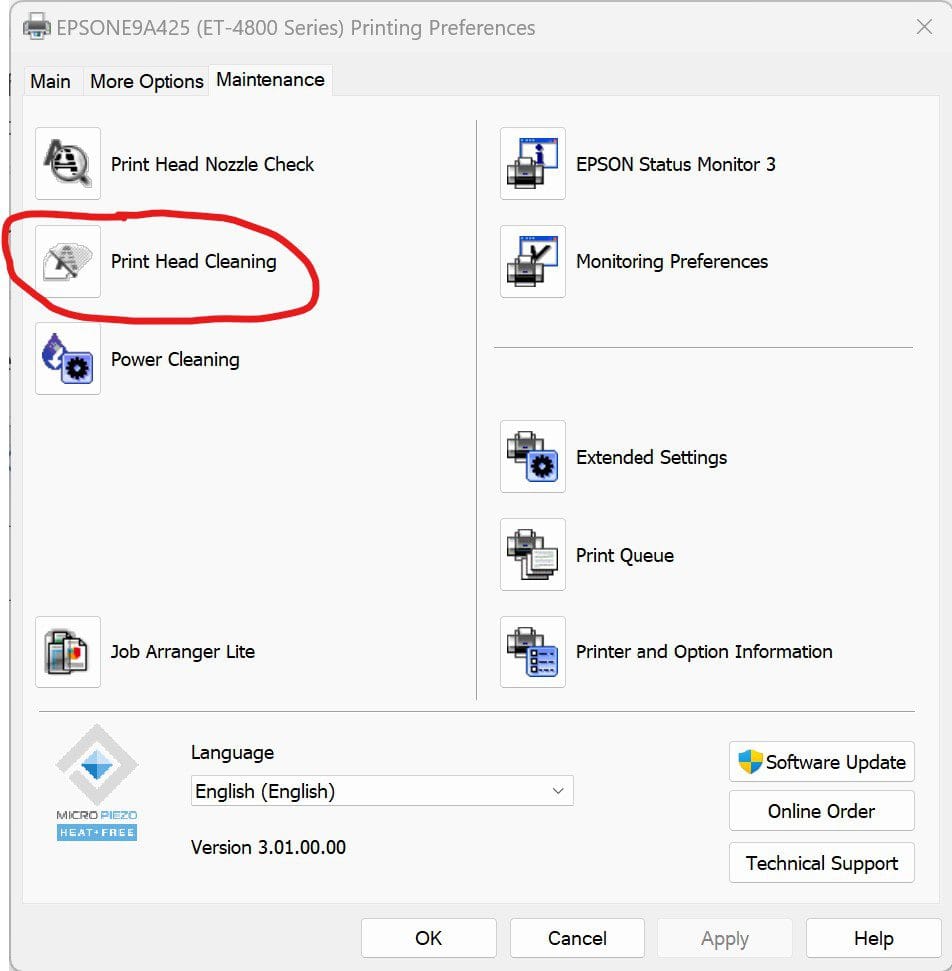 Head cleaning should be used when a nozzle check shows missing lines.
Clean because the nozzle check says you need to clean, not because the printer has been sitting there. Unnecessary cleaning wastes ink and fills the waste tank faster.
Some Epson printers include a stronger cleaning function, often called power cleaning or power ink flushing. This can help in some stubborn cases, but it uses a large amount of ink and can fill the maintenance tank quickly.
Make sure there is room in the waste tank or maintenance box before using power cleaning. It is good practice to keep a spare maintenance tank on hand if your printer uses one.
Download the manual for your exact printer model from Epson Australia support. The flashing or solid light pattern usually maps to a specific error in the troubleshooting section.
If a Wi-Fi connected printer stops part way through a print, test USB connection before assuming the printer is faulty. In many cases the router, wireless signal or computer sleep/power setting is involved.
Colour issues can come from missing ICC profiles, printing from software that does not manage colour well, driver changes, wrong paper settings or blocked nozzles.
Sublimation prints often look dull on paper before pressing. The final colour is only seen after the ink is heat activated and transferred into the sublimation coating or polyester fabric.
If you are new to sublimation, testing on white polyester fabric can save waste. A flat press test around 190°C for 60 seconds can help show whether the colour issue is in the print, profile, press or blank.
| Colour issue | Likely cause | What to check |
|---|---|---|
| Colours have never been correct | Wrong ICC profile, wrong print software, converted printer setup issue or incorrect driver settings. | Ask your ink/printer supplier for the correct ICC profile and setup instructions. Use software that can manage colour properly. |
| Colours were good, then changed | Computer update, driver update, new device, lost ICC profile or changed print settings. | Reinstall the printer driver, reinstall/apply the ICC profile and check all print settings again. |
| Colours are dull before pressing | This can be normal for sublimation printing. | Judge colour after pressing onto the correct substrate, not only by the printed transfer paper. |
| Dedicated Epson F160/F560 colour issue | Driver, media, profile or software workflow issue. | Check Epson driver setup, media settings and software workflow rather than treating it like a converted EcoTank profile issue. |
Dotted vertical lines can occur on both converted and dedicated sublimation printers. They are commonly caused by the small star wheels or “pizza wheels” contacting wet ink or built-up ink residue on the media path.
Different sublimation papers feed differently. A paper that works perfectly in one printer may sit slightly differently in another printer of the same model due to tolerances.
On converted printers, plain paper settings often reduce the amount of ink laid down. Too much ink can stay wet long enough to transfer onto wheels or guides.
Borderless printing can put ink where the paper does not perfectly align, causing ink to land on rollers, guides and internal parts.
If you need slightly wider or longer prints than A4, consider paper sizes such as US Legal where supported. A controlled printable area is better than overspray, ink stains and pizza wheel marks.
In general, the goal is to remove ink build-up from the spring/shaft area so the pizza wheel guides return to their normal position. Use suitable cleaning fluid and firm paper, thin card or ribbon to gently work the wheels clean. Do not force parts or flood the printer.
External examples from YouTube may help visualise the process: cleaning pizza wheel marks video 1 and cleaning pizza wheel marks video 2.
If repeated nozzle checks, head cleans, resting, and careful troubleshooting do not improve the printer, the issue may be more than normal maintenance.
Possible causes include severe dried ink, air locks, head strikes, old age, damaged parts, waste ink limitations or an end-of-life printer.
If you are repeatedly fighting with a converted printer, it may be time to compare dedicated sublimation printers such as the Epson F160 or Epson F560.
Manual head cleaning is a last-resort option for people who are mechanically confident and accept the risk of damaging the printer. If you are unsure, use an Epson service agent or replace the printer.
Dismantling printer parts, moving the print head manually, unplugging during operation, flushing liquid through the head or removing dampers can damage the printer, create leaks, cause electrical risk or void warranty. This section is informational only and should not be treated as official Epson service advice.
Some advanced users move the print head out of the capping station so they can access it. This is risky and should only be done if you understand the consequences.
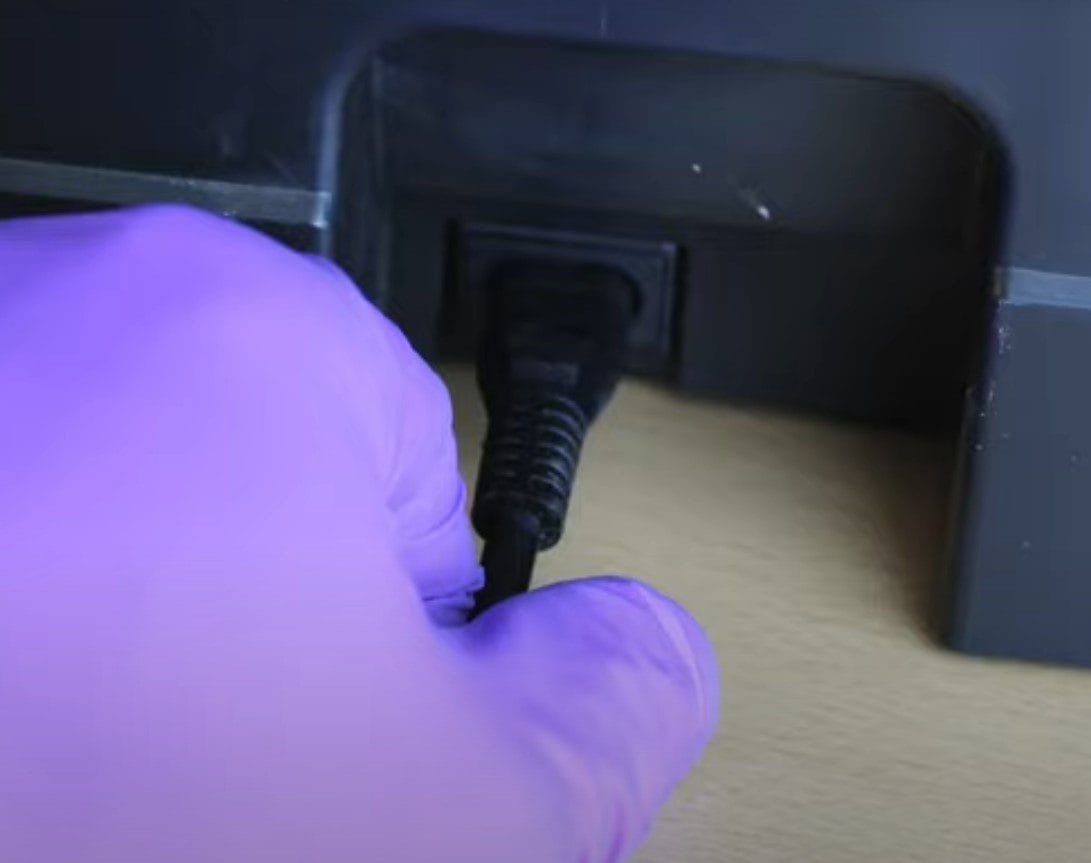 Manual access steps are advanced and risky.
Some EcoTank-style printers have a head cover plate that must be removed to inspect dampers. Screws, plastic clips and ribbon cables can be fragile.
 Only dismantle printer parts if you are confident and accept the risk.
Empty dampers or air locks can prevent ink reaching the print head. If dampers are not full of ink, normal head cleans may not work properly.
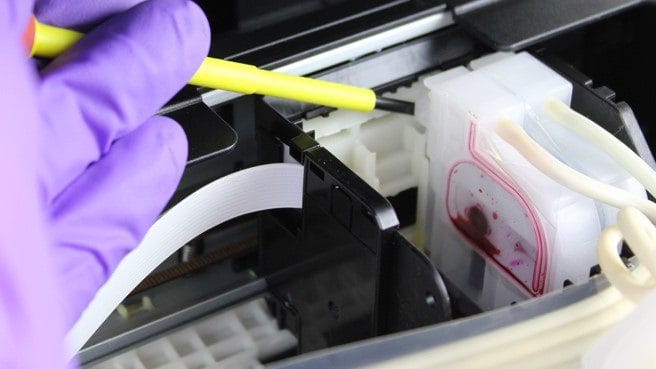 Damper removal should be treated as advanced maintenance.
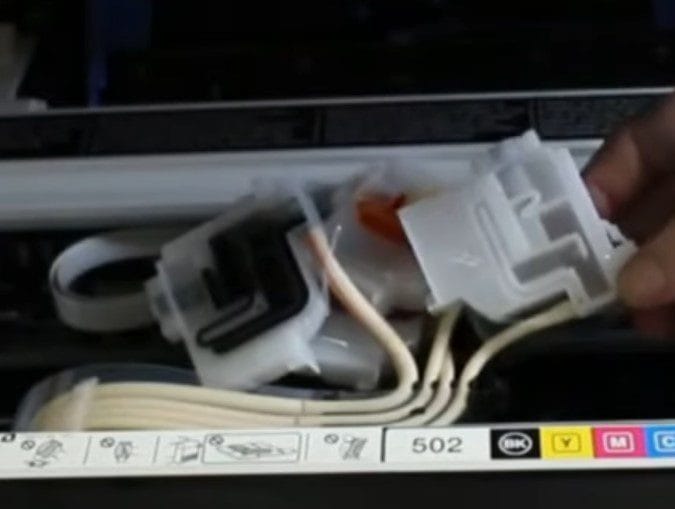 Air locks can prevent ink reaching the print head.
If a manual clean is attempted, cleaning solution must be used gently and carefully. Forcing liquid through a head can damage it.
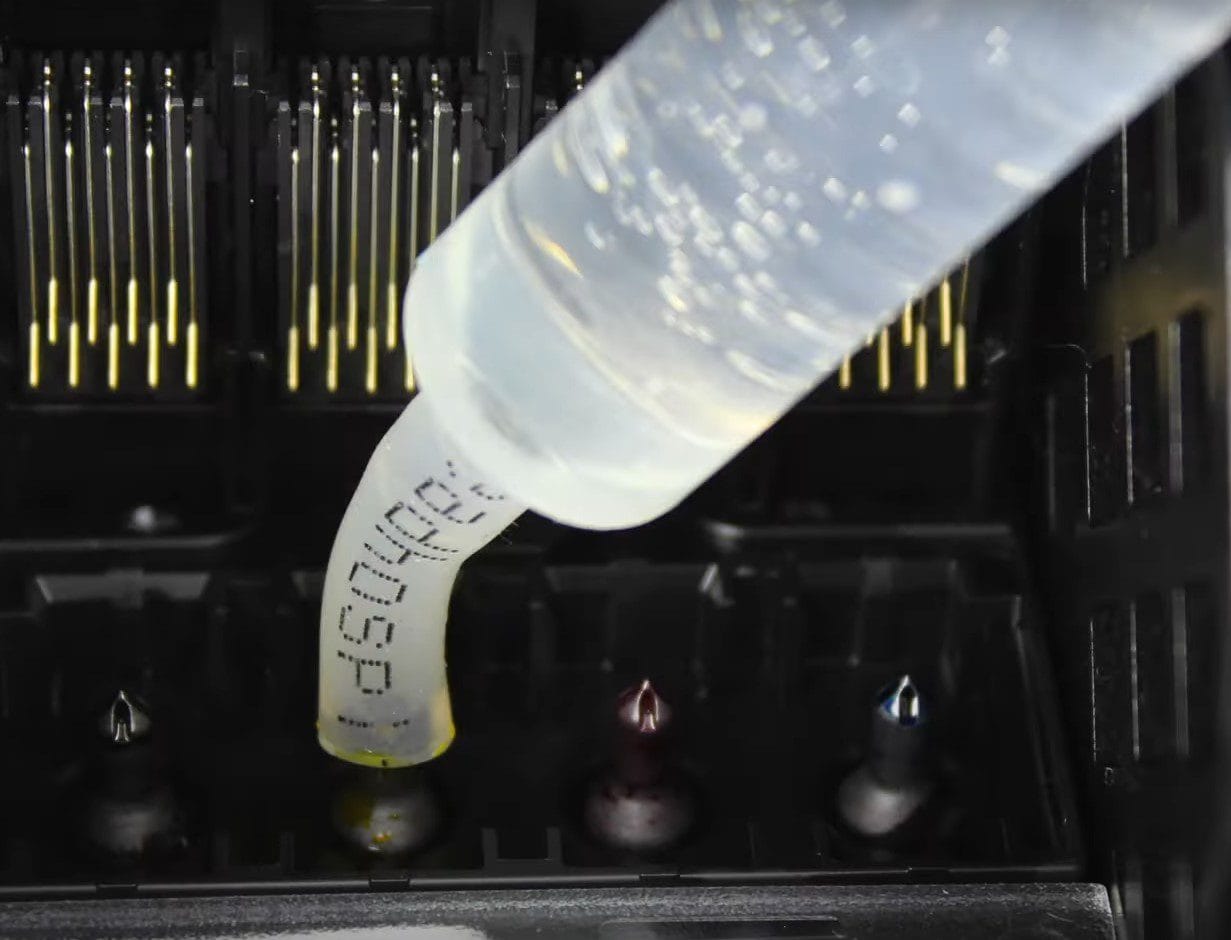 Never force cleaning fluid through the print head.
After any manual intervention, parts must be reassembled properly, ink supply restored and the printer tested using a nozzle check and test print.
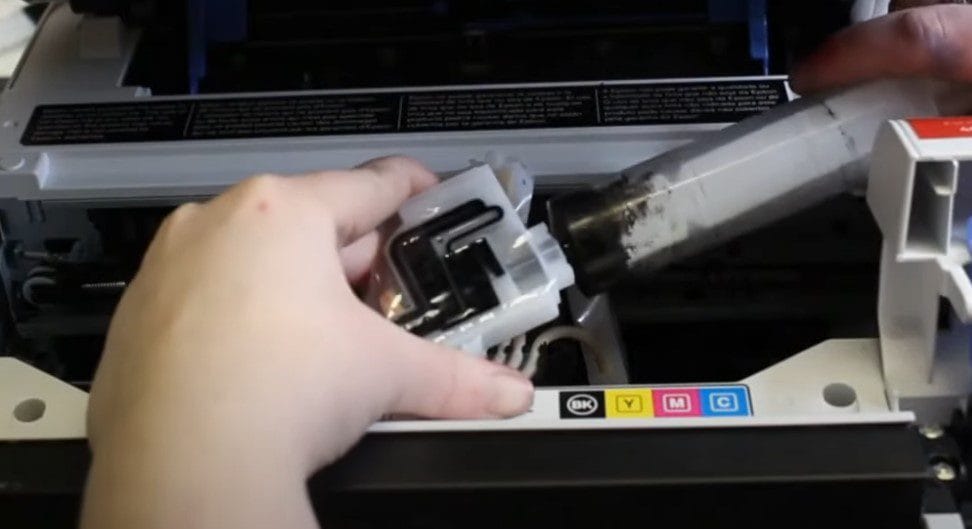 Damper priming requires care to avoid air locks and leaks.
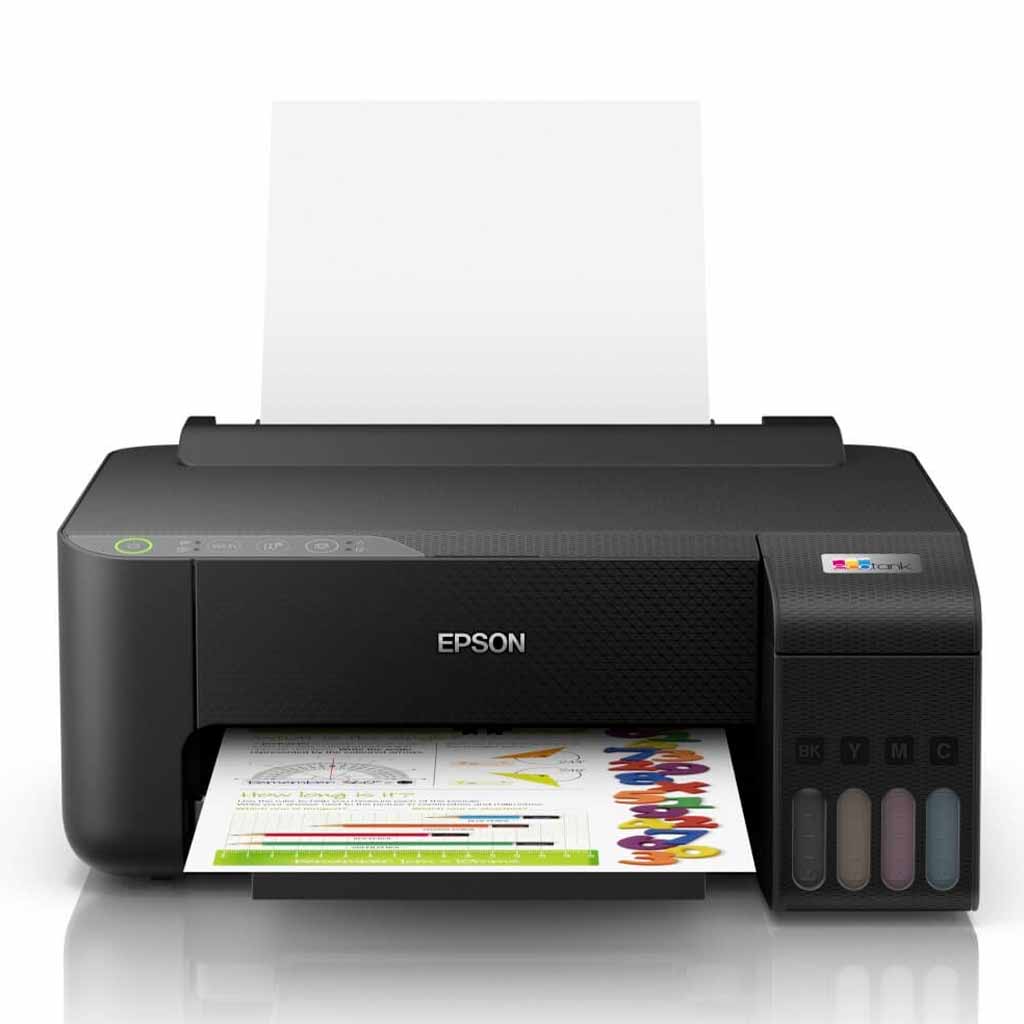 After reassembly, test with nozzle checks and controlled prints.
Manual cleaning should not be your normal maintenance process. Regular weekly printing, nozzle checks, correct profiles, sensible paper settings and avoiding borderless printing prevent most issues before they become serious.
If the printer is not otherwise being used, a weekly print using all colour channels is a practical minimum to help keep ink moving.
On most Epson printers, go to printer preferences or the printer utility, then open the maintenance section and choose nozzle check. Use your exact printer model’s support guide if the menu is different.
Go to printer preferences or the printer utility, open the maintenance section and choose head cleaning. After the clean finishes, print another nozzle check before deciding what to do next.
You can run multiple cleans, but do not keep cleaning endlessly. If several cleans do not clear the issue, let the printer rest, check for air locks, check waste tank capacity and consider service or power cleaning only as a last resort.
Common causes include blocked nozzles, missing ICC profile, wrong print software, driver updates, wrong paper/media settings, changed computer settings or judging colour before the transfer has been pressed.
Dotted vertical lines are often caused by pizza wheel marks, wet ink, paper feed differences, excess ink laydown or ink build-up on rollers and guides.
Regular printing, nozzle checks, correct colour setup and careful cleaning habits will prevent most sublimation printer problems before they cost you time, ink and wasted blanks.