
A halftone is an artwork technique that breaks a solid DTF transfer into a controlled pattern of printed and unprinted areas. The design stays visible, but the garment has less ink, white underbase and adhesive sitting across it.
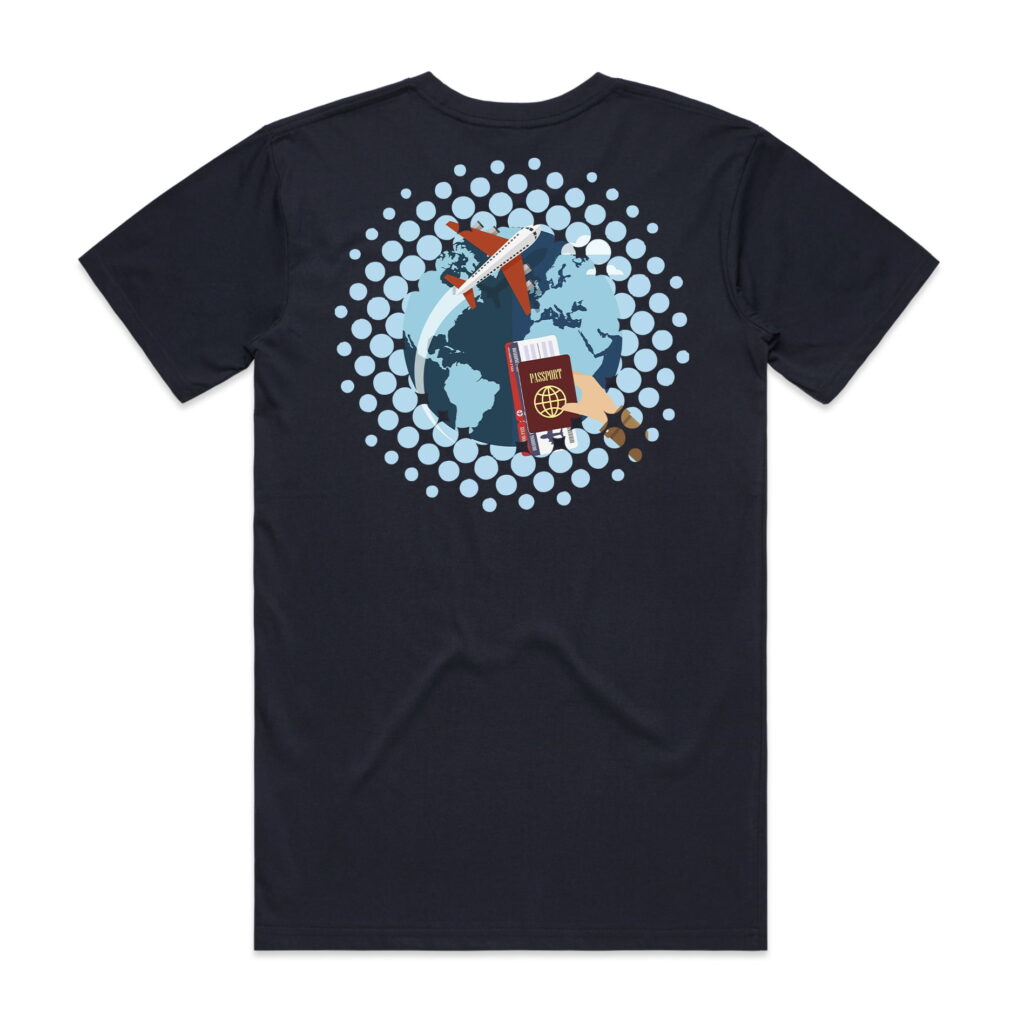
Example: a large DTF design using a halftone effect to reduce the heavy block-print feel.
In traditional printing, halftones are used to reproduce tone through patterns of dots. In DTF printing, the word is often used more practically: it describes a pattern, mask or raster effect that removes selected parts of a transfer before printing.
This matters because a DTF transfer is not just colour ink. It usually includes colour ink, a white underbase, adhesive powder and the finished transfer layer. If a large design is printed as one solid block, the shirt can feel warmer, stiffer and less breathable. A halftone helps reduce that effect.
The transfer no longer sits as one complete printed panel across the garment.
Large artwork can feel more flexible because less of the fabric is covered.
A large back print or oversized front graphic can feel more premium when it is not a solid block.
The easiest way to understand the process is to compare the original artwork, the halftone mask and the final artwork after the effect has been applied.
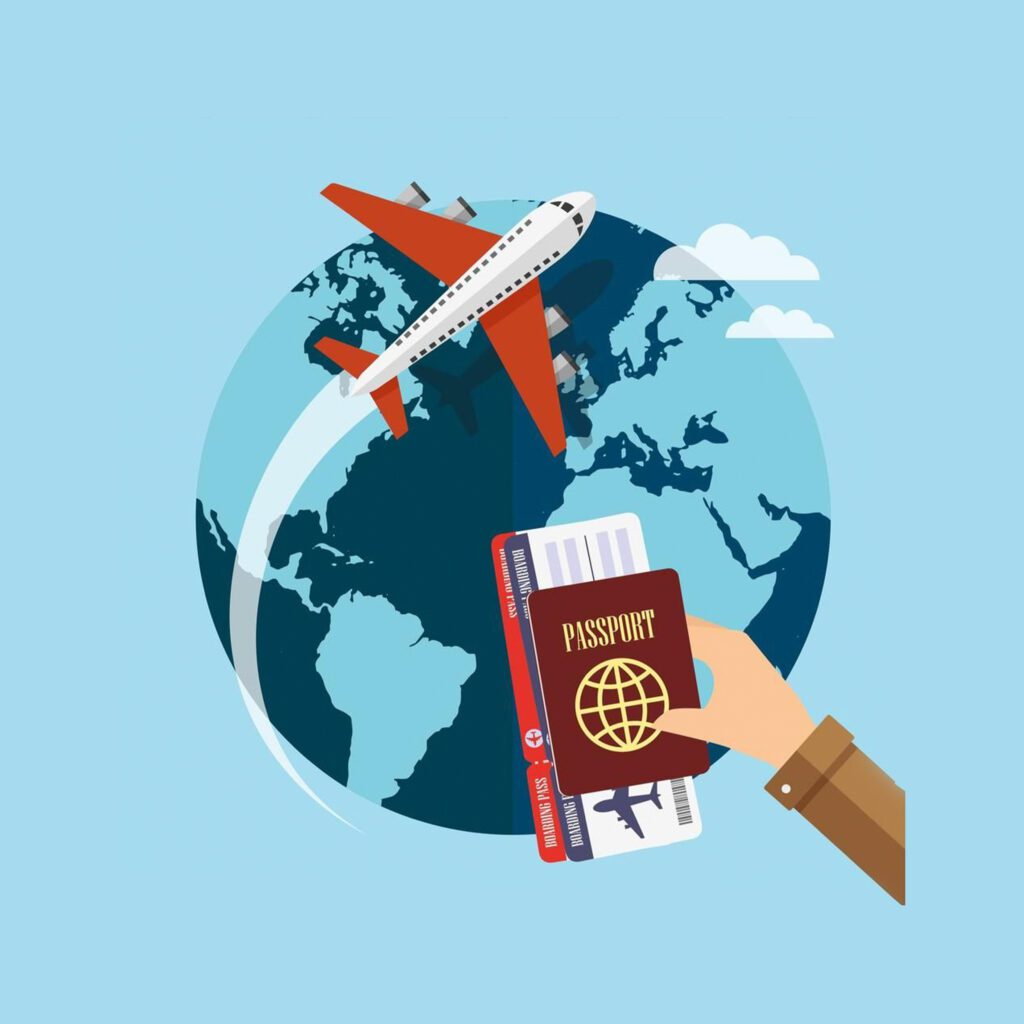
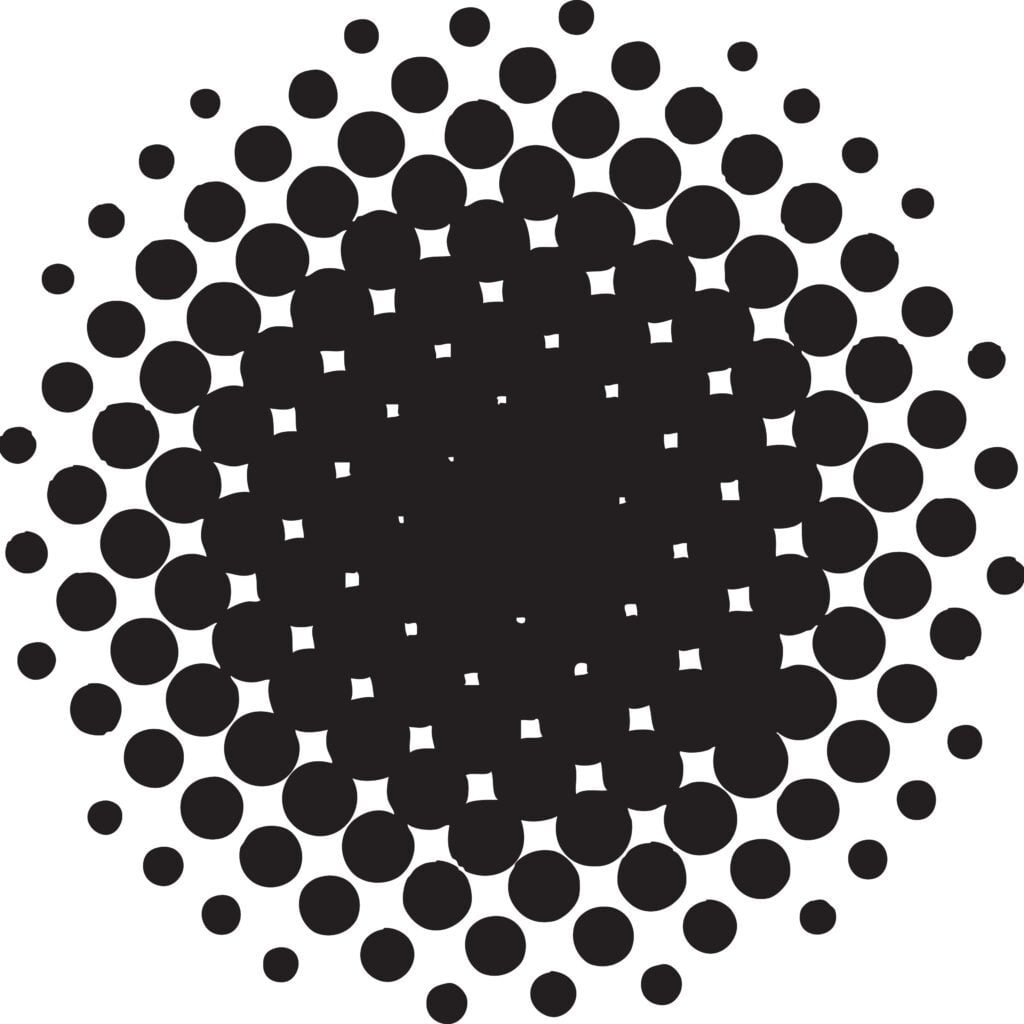
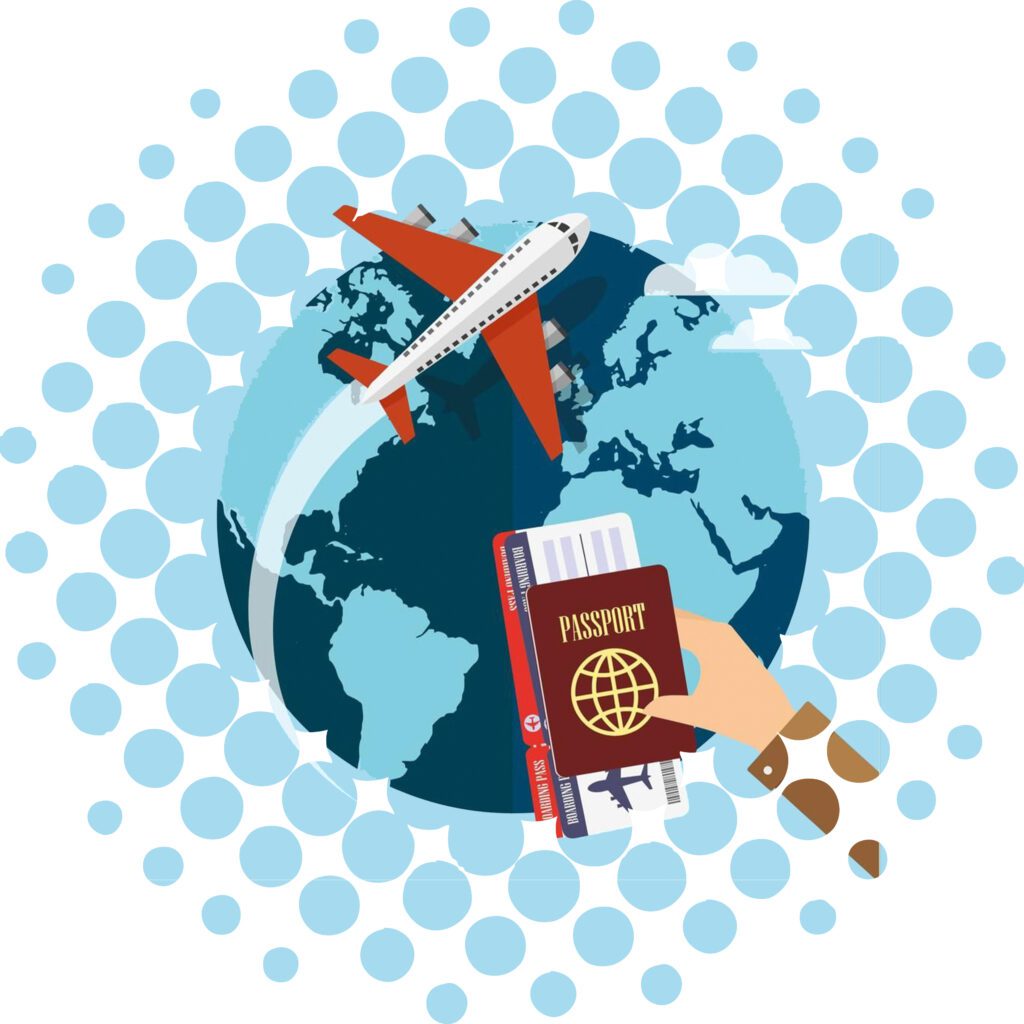
Halftones are especially useful for large back prints, oversized front graphics and designs with large solid colour areas.
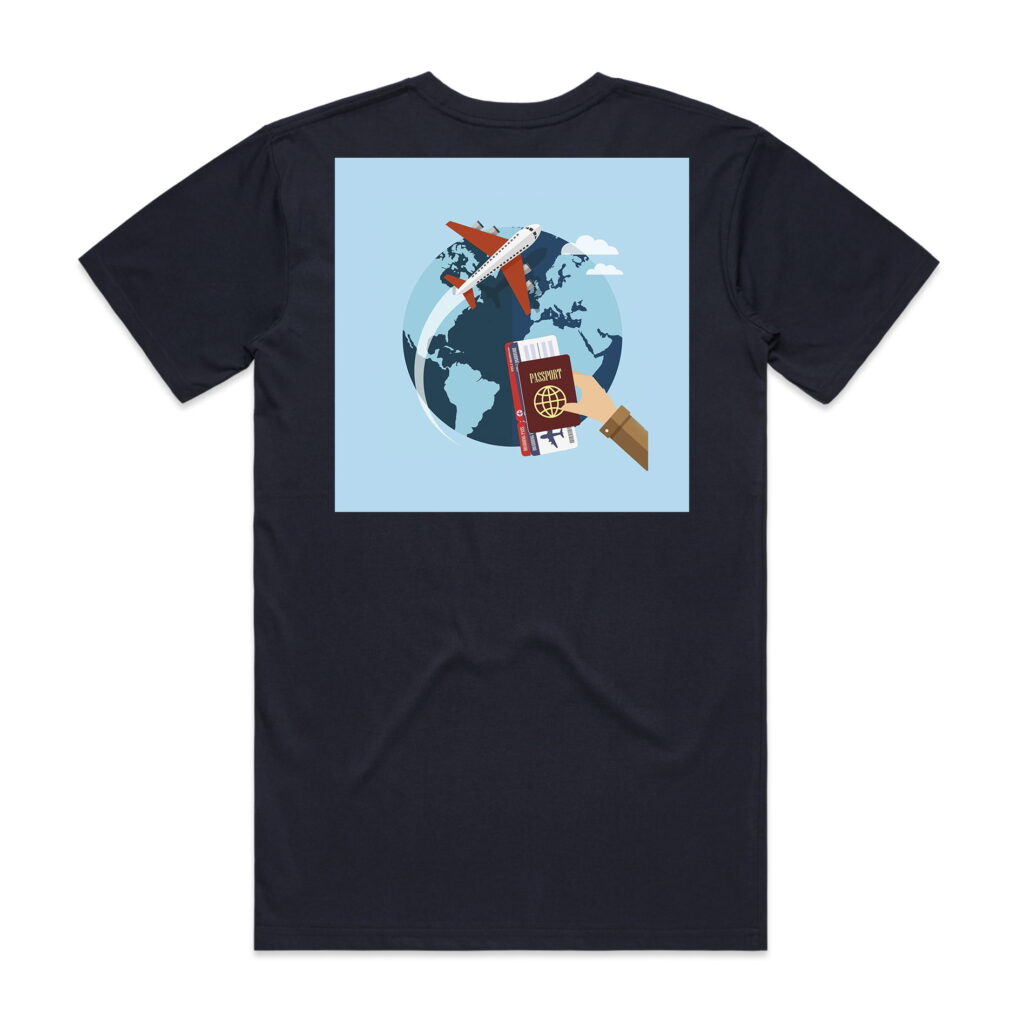
Use halftones when the print is large enough that comfort, breathability and flexibility matter.
Halftones can reduce clarity if the artwork relies on small detail or clean solid edges.
Not every halftone looks or feels the same. Dot size, spacing, density and placement all affect the result.
| Halftone setting | What it changes | DTF printing advice |
|---|---|---|
| Dot size | How visible the effect appears | Larger dots look more graphic. Smaller dots can look more subtle, but may not suit every artwork or production workflow. |
| Spacing | How much print is removed | More spacing can improve feel, but too much spacing can weaken the design or make the image look broken. |
| Density | How much artwork remains printed | Use lighter removal for detailed artwork and stronger removal for bold artwork with large solid sections. |
| Placement | Which parts stay visible | Keep faces, logos and key text away from aggressive removal areas so the design still reads clearly. |
The exact editor layout may change over time, but the general process is to upload your artwork, choose a mask, adjust the artwork and check the sheet before ordering.
Start with a clean, high-resolution file. PNG is usually better than JPG when transparent backgrounds matter.
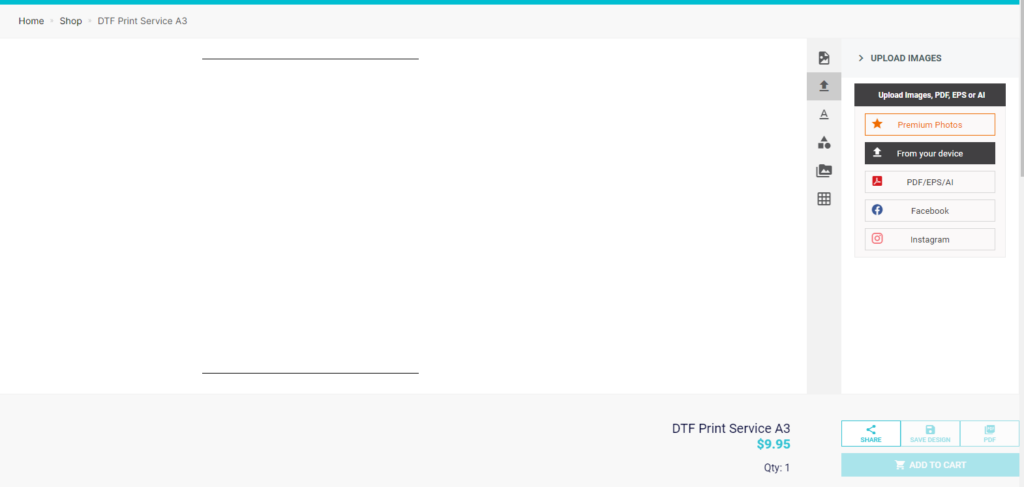
Choose a halftone or raster mask that suits the artwork size and level of detail.
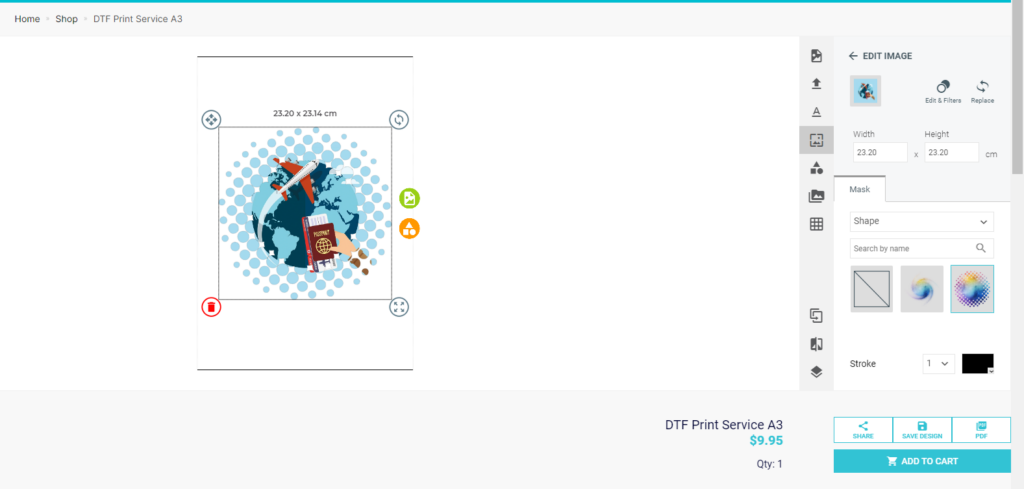
Move or resize the artwork inside the mask so important parts of the image remain visible.
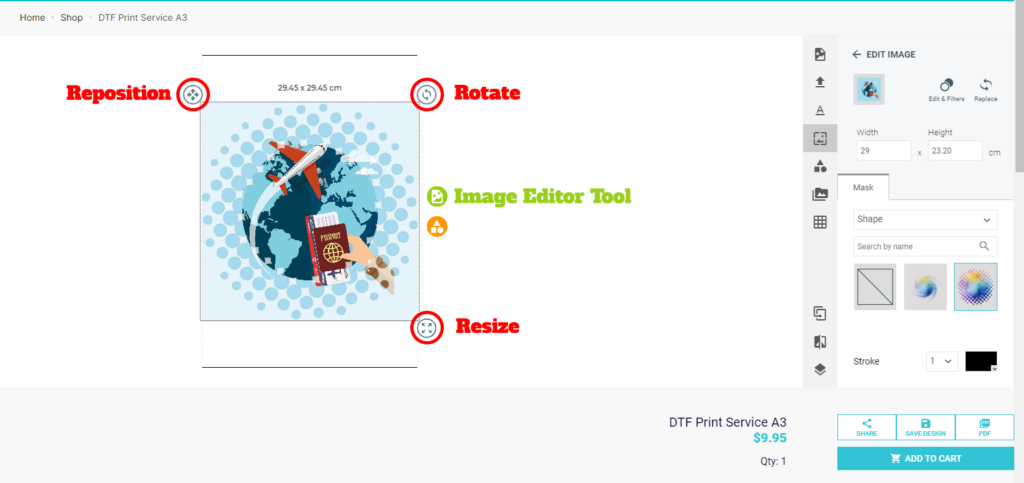
Use the dimension fields to set the correct print size. Keep the artwork proportions locked unless you have edited the file properly in design software.
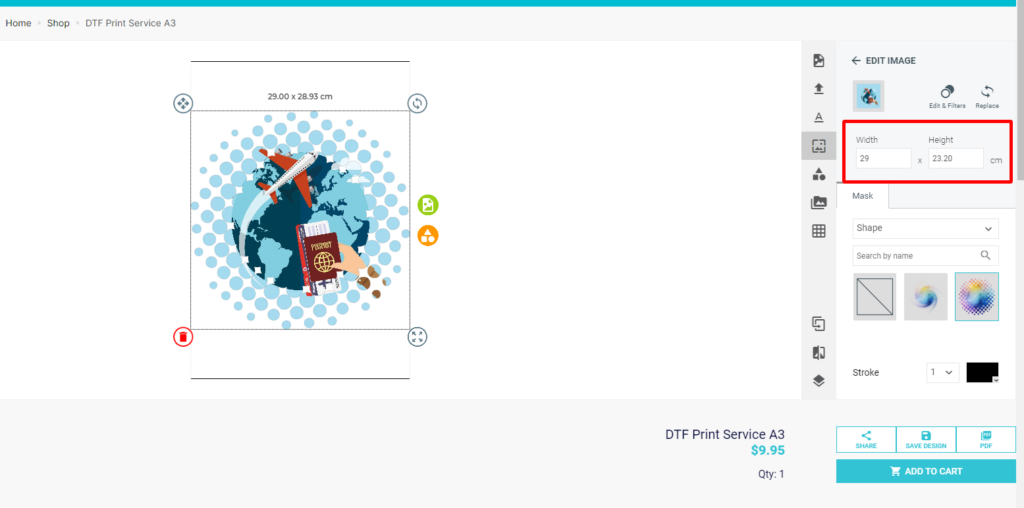
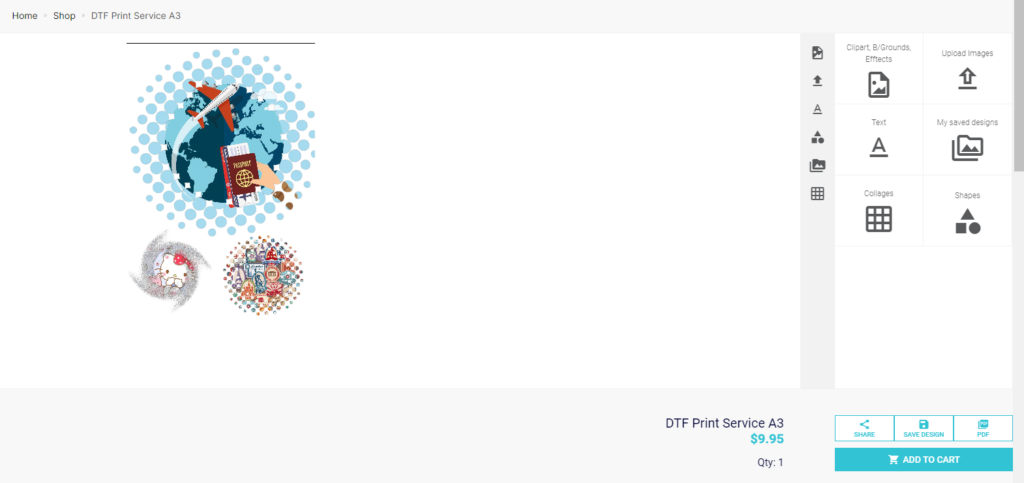
Before checkout, review the final artwork carefully. Check size, spacing, transparency and whether the mask has removed any important details.
Older DTF Store articles may mention discontinued widths, older builder products or old category paths. For current ordering, use the active Print Geek DTF transfer service category and current product options.
A halftone can improve the feel of a large transfer, but it still needs to suit the artwork. The best result comes from using the effect deliberately, rather than applying it to every design automatically.
A halftone is usually more useful on a large back print than a small logo. The smaller the print, the more likely the dot pattern will interfere with detail.
Faces, eyes, small lettering and brand marks should remain clear. Avoid strong halftone removal through important recognition areas.
Large prints on heavier garments may tolerate more coverage. Lightweight shirts often benefit more from reduced print area.
It can. A halftone reduces the amount of printed transfer sitting on the fabric, so large designs can feel lighter and more flexible than a solid block print.
Yes. A halftone intentionally removes parts of the artwork in a pattern. On bold artwork this can look like a deliberate design effect, but on detailed artwork it may reduce clarity.
Usually no. Small logos, fine text and brand marks normally need clean edges and solid detail. Halftones are generally better suited to larger graphics.
Yes. Large back prints are one of the best use cases because the reduced print area can make the garment feel less stiff and less warm.
The transfer still needs to be pressed correctly. Follow the current DTF pressing instructions for the transfer type, fabric and finish you are using.
These resources can help you understand DTF artwork setup, transfer pressing and better finished garment results.
Halftones are a smart way to improve the feel of large DTF transfers, but they need to be used with intention. The best results come from good artwork, suitable halftone settings, correct sizing and proper pressing.
For clothing brands, large back prints and full-colour garment designs, a well-prepared halftone can help create a more premium and comfortable finished product.