📋 Product Features
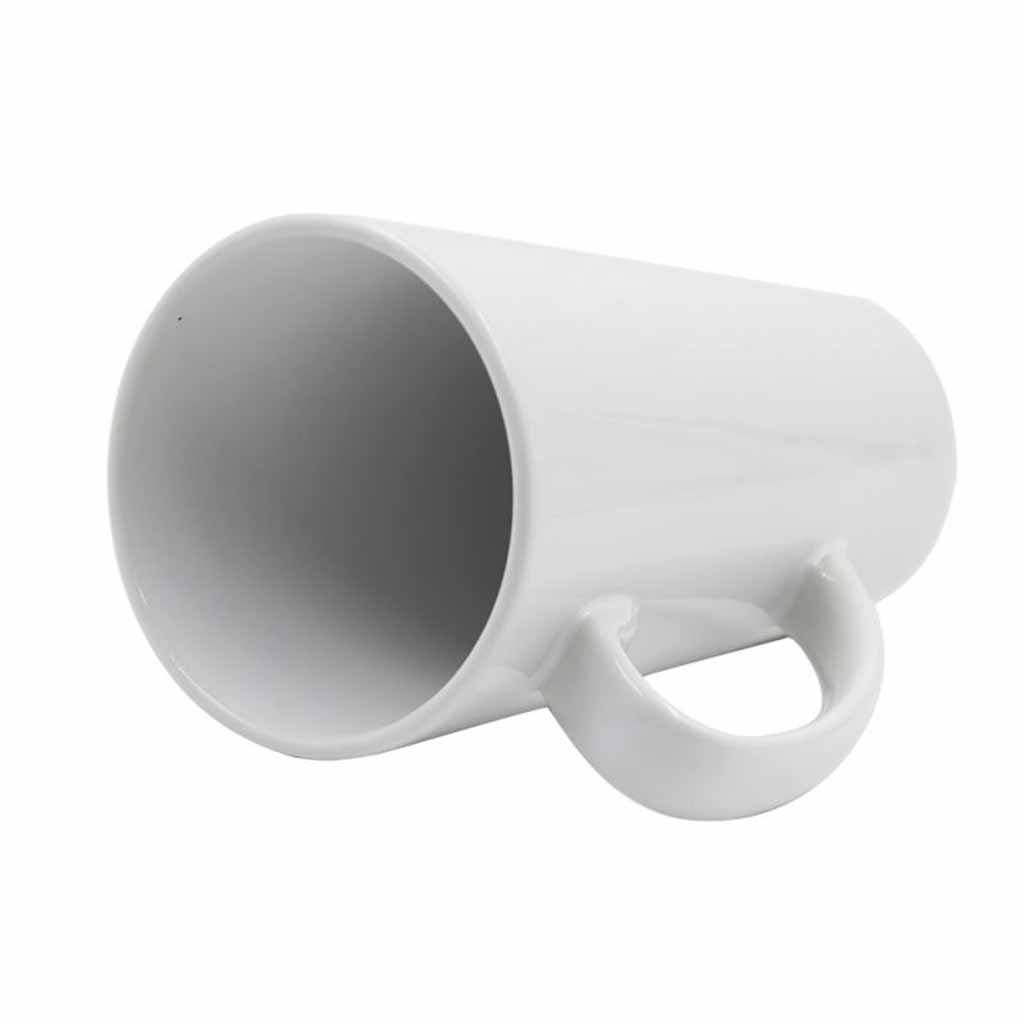
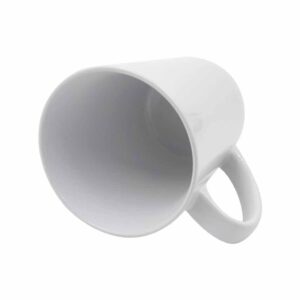
AA Rated ✓
FDA Approved ✓
Super White for great results ✓
Microwave Safe ✓
Little to No Imperfections ✓
 12oz Latte Mug Ceramic Sublimation Blank [Carton of 36]
Original price was: $178.20.$99.95Current price is: $99.95.
12oz Latte Mug Ceramic Sublimation Blank [Carton of 36]
Original price was: $178.20.$99.95Current price is: $99.95. Stubby Can Cooler Overlocked Neoprene Sublimation Blank Set of 30
Original price was: $34.95.$29.95Current price is: $29.95.
Stubby Can Cooler Overlocked Neoprene Sublimation Blank Set of 30
Original price was: $34.95.$29.95Current price is: $29.95.Original price was: $142.80.$89.95Current price is: $89.95.
-37%https://printgeek.com.au/product/sublimation-17oz-latte-mug-blank-aaa-orca-quality/
AA Rated ✓
FDA Approved ✓
Super White for great results ✓
Microwave Safe ✓
Little to No Imperfections ✓
NOTE: Due to the nature of the ceramic mugs, most companies will not insure. All standard shipping options do not include insurance. Please contact us for a quote if you require insurance.
We recommend that you only order single items for a sample and cartons for stock, due to the nature of packaging, you are less likely to incur breakages in a complete box.
When you want to provide the ultimate finish and quality to your customers, go with our AA rated mugs.
📏Product Dimensions | 📦Shipping Dimensions | |
|---|---|---|
Length | TBA cm | 0.1 cm |
Width | TBA cm | 0.1 cm |
Height | TBA cm | 0.1 cm |
Weight | TBA kg | 0.01 kg |
Chained products with this item:
Temperature: 180–200°C
Time: 180–220 seconds
Pressure: Press: Extremely firm Oven: Suitable silicone clamp
(Tip: Different presses vary—start at 190°C for 200 seconds and adjust if needed.)
Temperature: no–180°C
Time: 200–360 seconds
Pressure: Press: Extremely firm Oven: Suitable silicone clamp (Add 10-20s for each additional substrate in the oven)
(Tip: Different presses vary—start at 180°C for 280 seconds and adjust if needed.)
| Weight | 0.01 kg |
|---|---|
| Dimensions | 0.1 × 0.1 × 0.1 cm |
No current videos are available for this product.
Subscribe to be notified of new videos as they are released.
Only logged in customers who have purchased this product may leave a review.
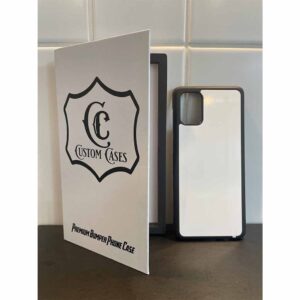
Apple iPhone, Phone Cases, Sublimation Blanks, TPU-PC-Aluminium
Original price was: $9.95.$5.95Current price is: $5.95. Add to cartPhone Cases, Samsung Galaxy, Sublimation Blanks, TPU-PC-Aluminium
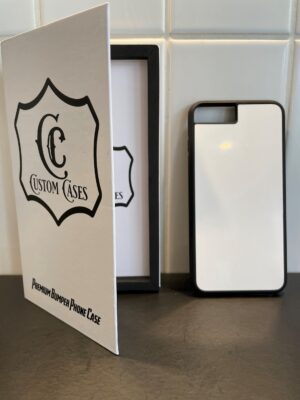
Original price was: $9.95.$5.95Current price is: $5.95. Add to cartApple iPhone, Phone Cases, Sublimation Blanks, TPU-PC-Aluminium
Original price was: $9.95.$5.95Current price is: $5.95. Add to cartPhone Cases, Samsung Galaxy, Sublimation Blanks, TPU-PC-Aluminium
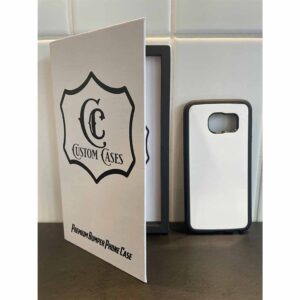
Original price was: $9.95.$5.95Current price is: $5.95. Add to cart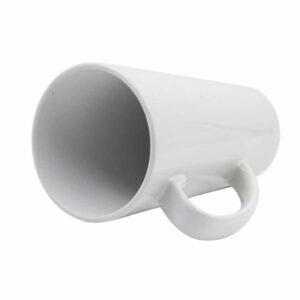
Reviews
There are no reviews yet.