📋 Product Features
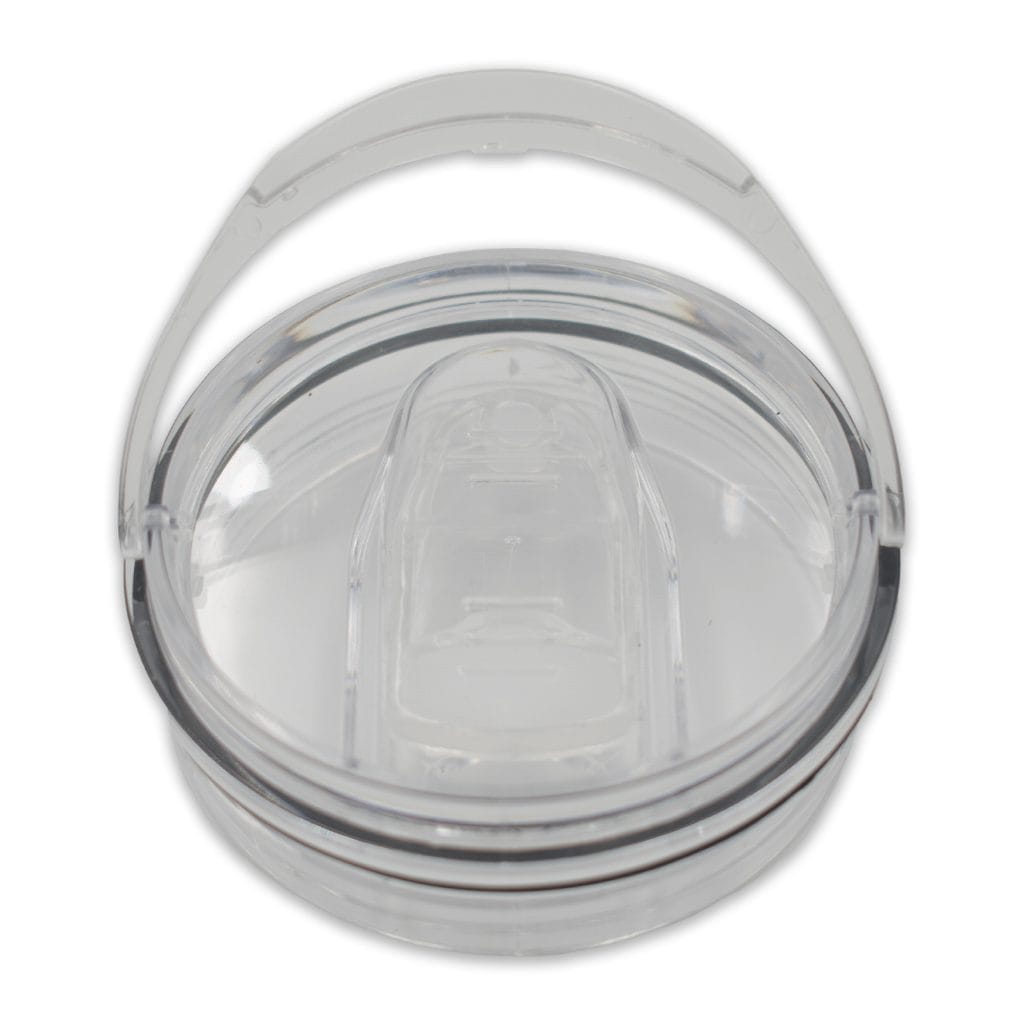
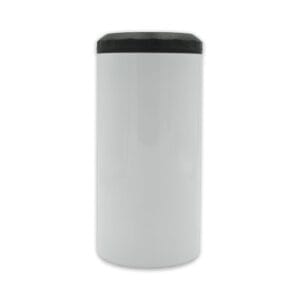
Gloss White ✓
Double Wall Insulated ✓
Stainless Steel ✓
Fits Australian Sizes ✓
Rubber Base Non Slip ✓

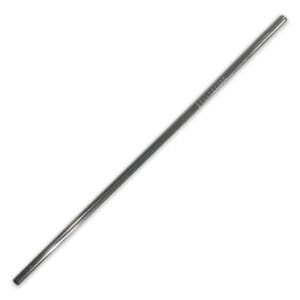
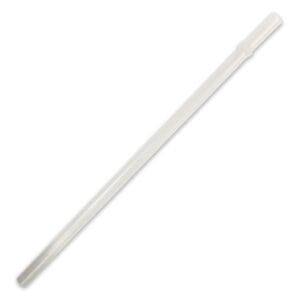
 Keyring Mini Wallet Card Licence Holder Faux Leather Sublimation Blank [Pack of 10]
Original price was: $49.50.$39.95Current price is: $39.95.
Keyring Mini Wallet Card Licence Holder Faux Leather Sublimation Blank [Pack of 10]
Original price was: $49.50.$39.95Current price is: $39.95.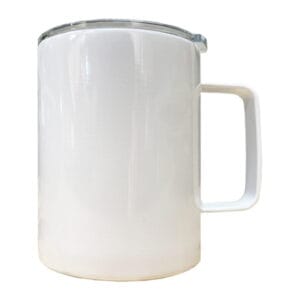 Travel Mug 12oz White with Handle Stainless Steel Sublimation Blank [Carton of 25]
Original price was: $348.75.$299.95Current price is: $299.95.
Travel Mug 12oz White with Handle Stainless Steel Sublimation Blank [Carton of 25]
Original price was: $348.75.$299.95Current price is: $299.95.Original price was: $298.75.$225.00Current price is: $225.00.
-25%Gloss White ✓
Double Wall Insulated ✓
Stainless Steel ✓
Fits Australian Sizes ✓
Rubber Base Non Slip ✓
Make great quality Stainless Steel Stubby Can Coolers easily with these high quality stubby cooler blanks for dye sublimation printing. Also acts as Tumbler, and carries various size drinks. Fits Australian size cans and stubbies.
📏Product Dimensions | 📦Shipping Dimensions | |
|---|---|---|
Length | TBA cm | 0.1 cm |
Width | TBA cm | 0.1 cm |
Height | TBA cm | 0.1 cm |
Weight | TBA kg | 0.1 kg |
Chained products with this item:
Temperature: 180–200°C
Time: 180–220 seconds
Pressure: Press: Extremely Firm Oven: Heat Shrink
(Tip: Different presses vary—start at 190°C for 200 seconds and adjust if needed.)
Temperature: yes–180°C
Time: 200–360 seconds
Pressure: Press: Extremely Firm Oven: Heat Shrink (Add 10-20s for each additional substrate in the oven)
(Tip: Different presses vary—start at 180°C for 280 seconds and adjust if needed.)
| Weight | 0.1 kg |
|---|---|
| Dimensions | 0.1 × 0.1 × 0.1 cm |
No current videos are available for this product.
Subscribe to be notified of new videos as they are released.
Only logged in customers who have purchased this product may leave a review.
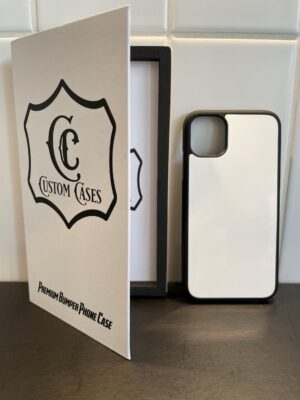
Apple iPhone, Phone Cases, Sublimation Blanks, TPU-PC-Aluminium
Original price was: $9.95.$5.95Current price is: $5.95. Add to cartApple iPhone, Phone Cases, Sublimation Blanks, TPU-PC-Aluminium
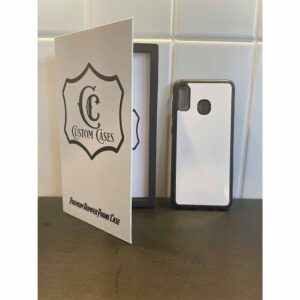
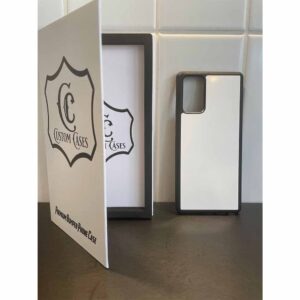
Original price was: $9.95.$5.95Current price is: $5.95. Add to cartPhone Cases, Samsung Galaxy, Sublimation Blanks, TPU-PC-Aluminium
Original price was: $9.95.$5.95Current price is: $5.95. Add to cartPhone Cases, Samsung Galaxy, Sublimation Blanks, TPU-PC-Aluminium
Original price was: $9.95.$5.95Current price is: $5.95. Add to cart

Reviews
There are no reviews yet.