📋 Product Features
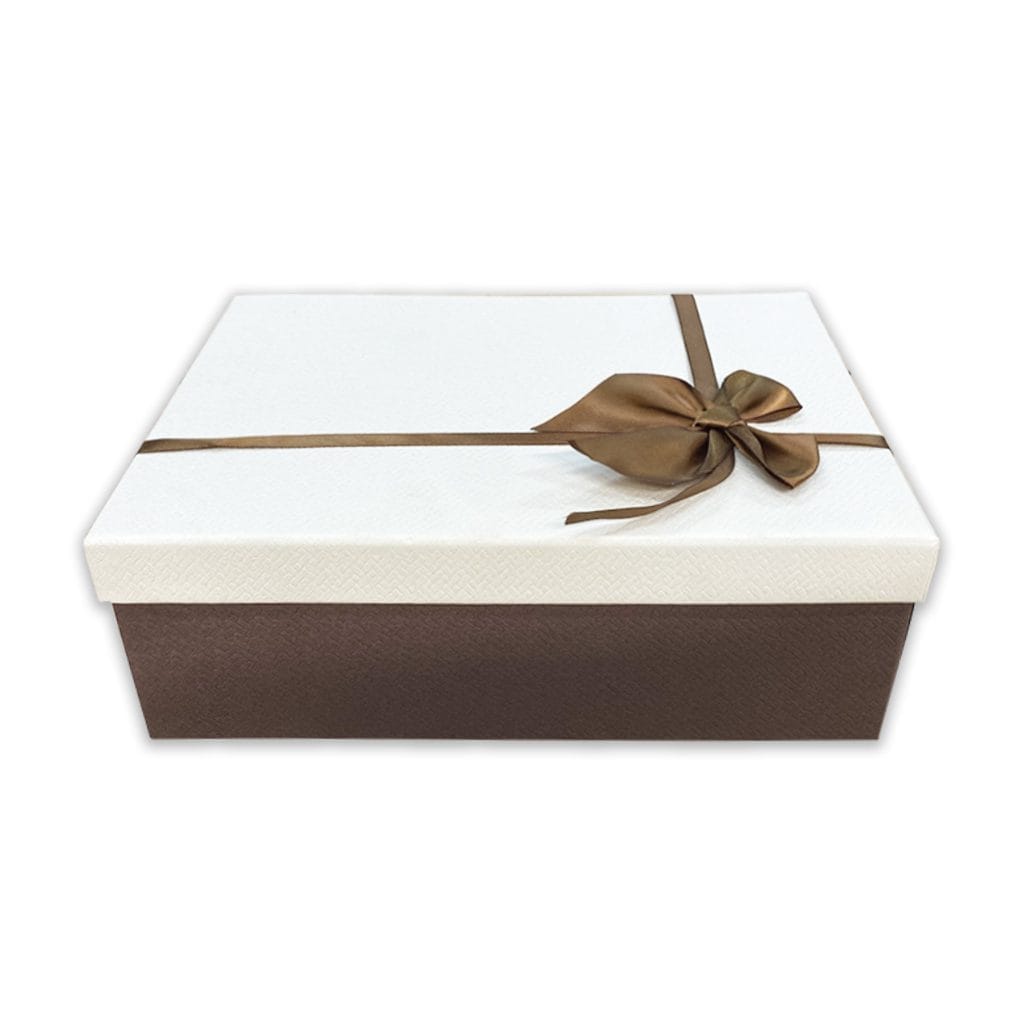
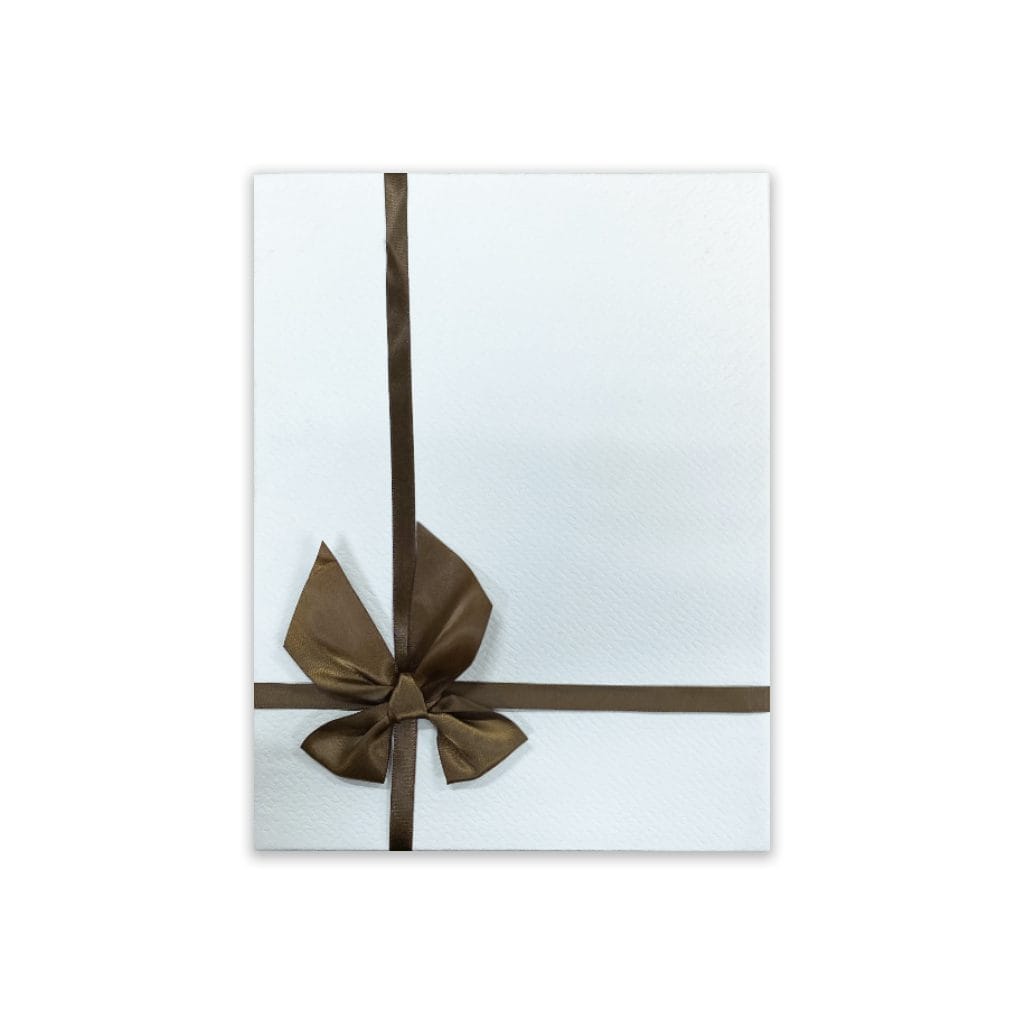
Gift Box ✓
Double Wall ✓
Stainless Steel ✓
Gloss Finish ✓
Base, straws and shrink wrap included ✓
Base, straws and shrink wrap included ✓

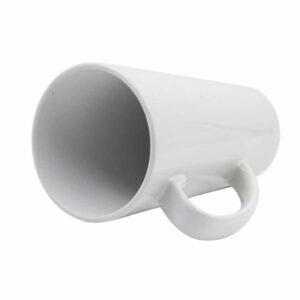 17oz Latte Mug Ceramic Sublimation Blank with Packaging [Carton of 24]
Original price was: $5.95.$4.95Current price is: $4.95.
17oz Latte Mug Ceramic Sublimation Blank with Packaging [Carton of 24]
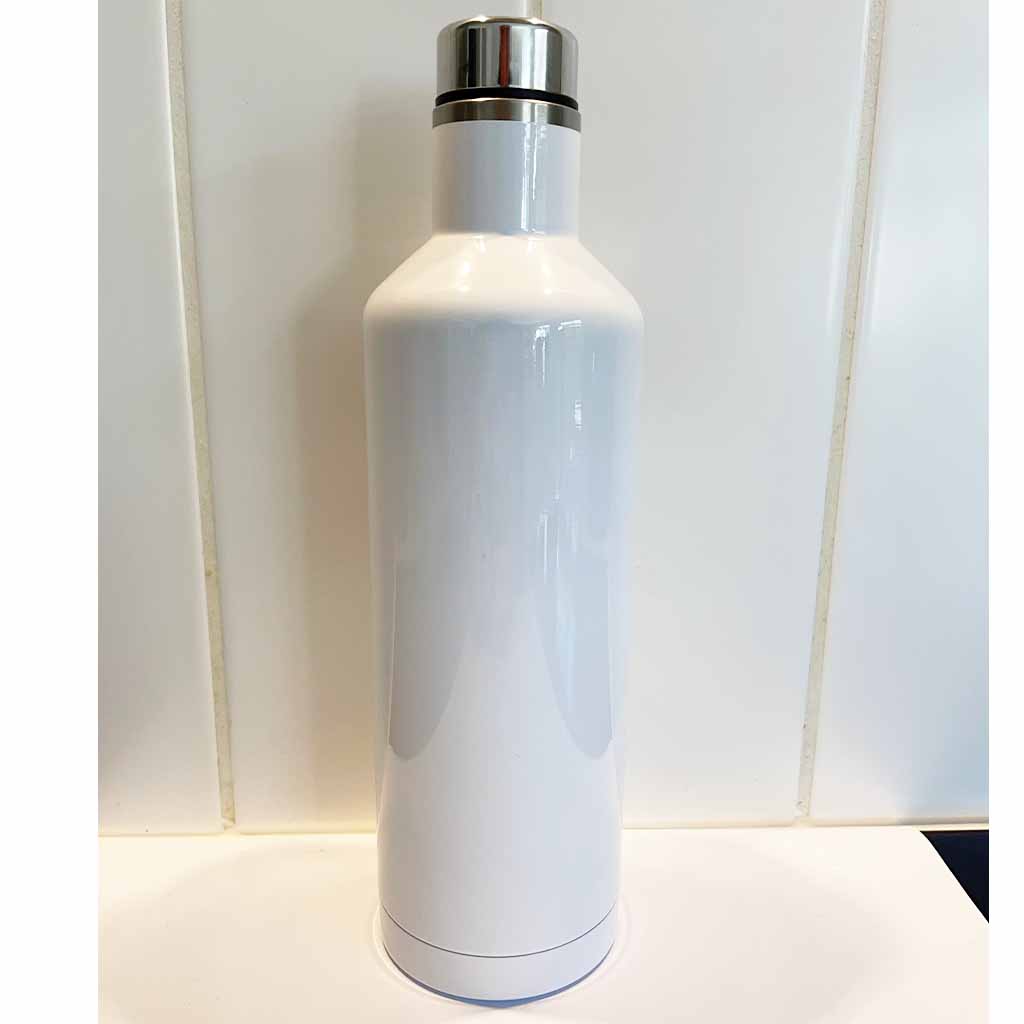
Original price was: $5.95.$4.95Current price is: $4.95.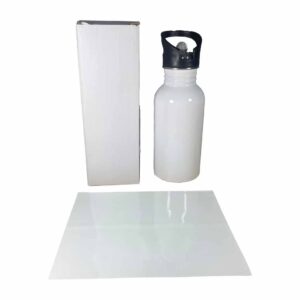 500ml Stainless Steel Water Bottle White Sublimation Blank [Carton of 50]
Original price was: $499.95.$349.95Current price is: $349.95.
500ml Stainless Steel Water Bottle White Sublimation Blank [Carton of 50]
Original price was: $499.95.$349.95Current price is: $349.95.Original price was: $399.95.$324.95Current price is: $324.95.
-19%https://printgeek.com.au/product/wine-tumbler-gift-kit-white-sublimation-blank-cofee-water-hot-cold-20oz-skinny-stainless-steel-straight/
Out of stock: "Metal Straw 170 mm Reusable Stainless Steel" does not have sufficient quantity in stock.
Gift Box ✓
Double Wall ✓
Stainless Steel ✓
Gloss Finish ✓
Base, straws and shrink wrap included ✓
Base, straws and shrink wrap included ✓
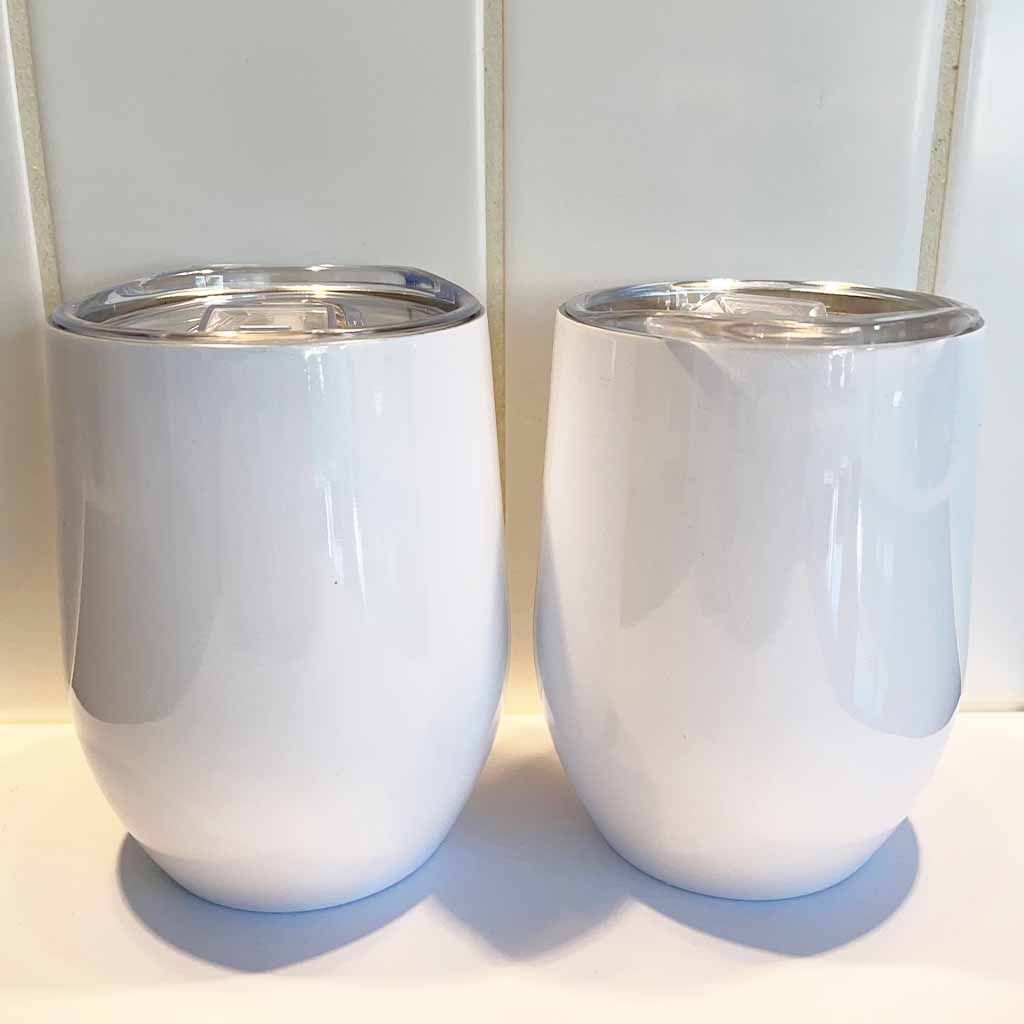
Perfectly packaged in Box with ribbon (Colours Change at times). Comes with Thermos and two 12oz curved wine tumblers with plastic straws and lids.
📏Product Dimensions | 📦Shipping Dimensions | |
|---|---|---|
Length | TBA cm | 0.1 cm |
Width | TBA cm | 0.1 cm |
Height | TBA cm | 0.1 cm |
Weight | TBA kg | 0.1 kg |
Chained products with this item:
Temperature: 180–200°C
Time: 180–220 seconds
Pressure: Press: Extremely firm Oven: Suitable silicone clamp
(Tip: Different presses vary—start at 190°C for 200 seconds and adjust if needed.)
Temperature: yes–180°C
Time: 200–360 seconds
Pressure: Press: Extremely firm Oven: Suitable silicone clamp (Add 10-20s for each additional substrate in the oven)
(Tip: Different presses vary—start at 180°C for 280 seconds and adjust if needed.)
| Weight | 0.1 kg |
|---|---|
| Dimensions | 0.1 × 0.1 × 0.1 cm |
No current videos are available for this product.
Subscribe to be notified of new videos as they are released.
Only logged in customers who have purchased this product may leave a review.
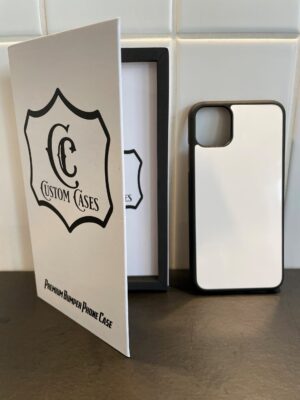
Apple iPhone, Phone Cases, Sublimation Blanks, TPU-PC-Aluminium
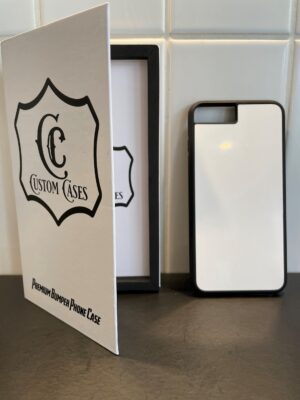
Original price was: $9.95.$5.95Current price is: $5.95. Add to cartApple iPhone, Phone Cases, Sublimation Blanks, TPU-PC-Aluminium
Original price was: $9.95.$5.95Current price is: $5.95. Add to cartApple iPhone, Phone Cases, Sublimation Blanks, TPU-PC-Aluminium
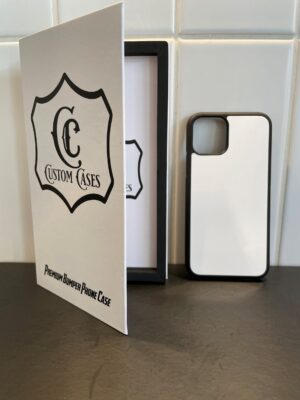
Original price was: $9.95.$5.95Current price is: $5.95. Add to cartApple iPhone, Phone Cases, Sublimation Blanks, TPU-PC-Aluminium
Original price was: $9.95.$5.95Current price is: $5.95. Add to cart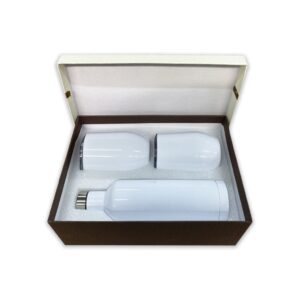

Reviews
There are no reviews yet.